
Perforated Metal Christmas Wreath
7:31:00 AM
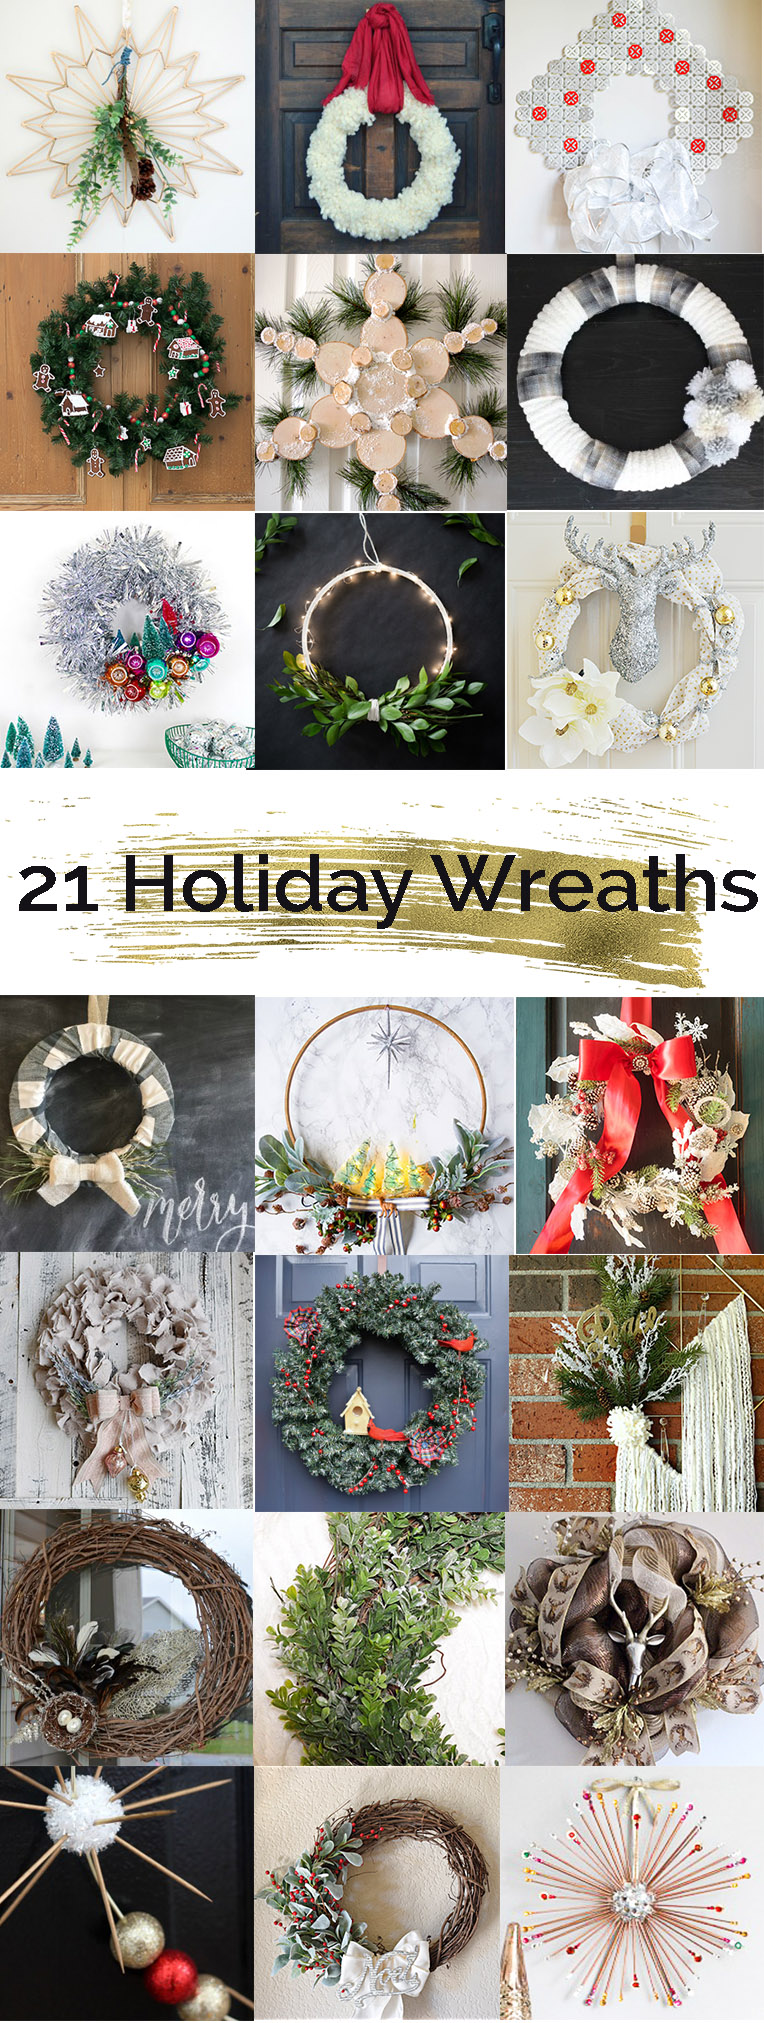
I love creating for Christmas. I used to wait until December to make all kinds of crafts and designs, but the older I become, the more I just want to slow down an savor the holiday season. It’s not always possible; there are always events and shopping that have to happen in December, but I’ve started to create Christmas décor and crafts a little earlier and start decorating my house. Most of the items that go up early are more transitional; they are not screaming “Christmas” but rather start whispering the feeling of coziness or adds a bit of sparkle and shine. If you’re feeling the same way—enjoying the crafts before the craziness begins, look no further! That’s why I’m handing up my new Christmas wreath (or is it my winter wreath) today. I’m adding a little bit of shine and glitter and you won’t believe how easy it is to make this craft! And if you’re really looking for some wreath inspiration, you can find 20 more wreaths linked up at the bottom of this post!

Here’s what you need (affiliate links included for your convenience):
Work Gloves
Paint brushes and stir stick
Super glue that works with metal
Wired ribbon in a color of your choice.
Possible other supplies: washable marker, mallet
First, be safe! Use work gloves. The edges of the cut metal sheet are sharp!

Then, plan out the shape you want to cut out. I very lightly marked where I was cutting with a washable marker – I went with a shape that was kind of a rounded square, so I would be cutting through the perforations rather than through the solid parts. If you’re confident in your visualization, you don’t have to mark out the shape on the metal, but I used a water-soluble marker for the inside cut-out because that’s tougher to cut and I was worried I’d mess up my shape. Be sure to save your scraps.
Once the shape is cut out, turn under any sharp edges with pliers. If you need to, press the edges down with a mallet. This will make your wreath look nice and clean and keep you or your door from getting all scratched up.
I cut out the little metal scraps into little circles that went with the pattern in my metal. I wanted these little circles to be glossy berries, so I pulled out my Maxx Gloss Paint and painted the circles.

This is the first time I’ve been able to use this paint and it is super cool. Some things to note: it’s self levelling, but that means it’s a little runny. You want to keep it horizontal as much as possible while it’s wet. You also don’t want to shake it to mix it if it separated – that can make bubbles. Instead, use a stir stick. I love how it looks - like enamel!

Once the paint was dry, I glued the circles onto the wreath base to make berries.

I made a bow out of the ribbon (there are all kinds of tutorials online) and tied them onto the wreath using the perforations.
And that’s it! I’m hoping that this wreath can last me through Valentine’s Day…we’ll see!

And if you’re looking for more wreath inspiration, look at all of these amazing ideas!


13 comments
I was wondering what those geometric shapes were from the small shot. Great idea!
ReplyDeleteSuch a cool idea! I can't believe I didn't think of this earlier!
ReplyDeleteThis is such a unique wreath, way to think outside the box! Very cute!
ReplyDeleteI love those beautiful pops of red on the shiny metallic wreath! What a great idea!
ReplyDeleteWhat a creative wreath!! Love that you started with the perforated metal and added the pop of color! Beautiful!
ReplyDeleteSuch a gorgeous wreath! I love this idea.
ReplyDeleteThis is such a clever idea. I honestly thought for a second that you glued washers together.
ReplyDeleteWhat a cool, non-traditional wreath! I love the "berries". Awesome idea!
ReplyDeleteThis is such a cool wreath! I just love it!
ReplyDeleteHow unique! I never would have thought of using metal as a wreath base. Great job!
ReplyDeleteWow...would never have thought of using that metal for a wreath, but it's very cool and chic! And I love how you added the 'berries'. I'm dying to use that paint too...looking for a good project.
ReplyDeleteThanks for inspiring!
hugs, Lynn
What a creative and unique wreath for the holidays!! I really like it with the pops of red. Very cool.
ReplyDeleteThis is such a cool wreath! Genius to use sheet metal!
ReplyDelete