
Glitter Stencilled Recycled Tin and #Giveaway #ad
5:00:00 AM
Disclosure: I received stencils, glitter, and spouncers for free. However, all projects and opinions of the products on this post are my own.

Are you looking for fun, cheap, and durable storage? How about stencilling up a glittery tin? I don't know about you, but I am constantly looking for fun, durable storage for my kids. Cheap plastic boxes (or cardboard) just won't cut it for them. Here's how I created a fun crayon box for my girls!
I started with a ginger snap cookie tin that I picked up at my office during the holidays for free.

And then I spray painted it silver. I know you can get tins like this at Michaels, but you really can't beat free. It's really the best way to recycle!!

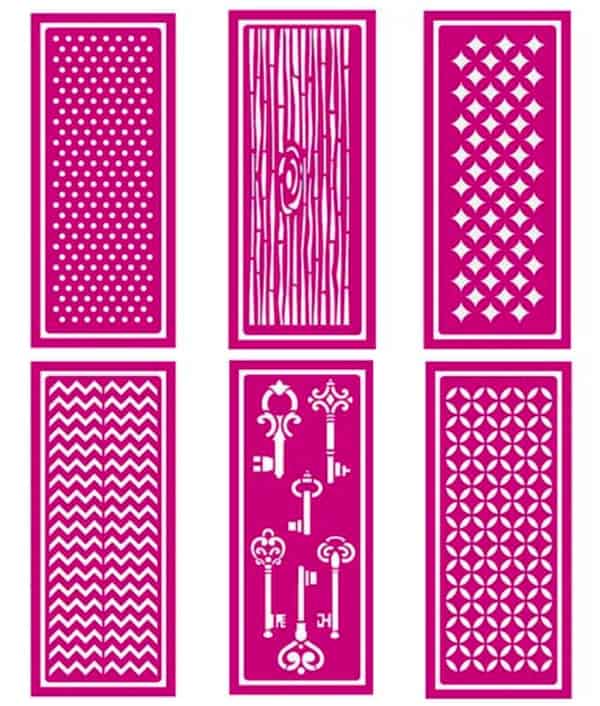
My blogging friend Amy at Mod Podge Rocks has teamed up with Plaid to create fun stencils. They are perfect for projects that you want to create a patter with Mod Podge or glitter. I love how the stencils are generic, simple patterns! You can use these stencils for decorating just about anything, in my opinion. They are self adhesive and very easy to use. Want one? They can be found exclusively at Michael's. Or...You can win one here...just keep going to the end of the post!
So I took my tin, the stencil, some Mod Podge (I used matte), some spouncers, and some podgeable glitter.

After I made sure that my tin was clean and the paint had cured, I adhered the stencil to the tin.

Then, you apply the Mod Podge evenly onto the tin. You want to move quickly so that the Mod Podge doesn't dry before the next step.

Remove the stencil carefully. (Don't do what I do and accidentally dump glitter on top of it.) Place the stencil back on the plastic sheet it came on.

Sprinkle glitter on top of the Mod Podge on the tin. I have to say that I am in love with these Podgeable Glitter containers--they look like chapstick containers, but they make it easy to direct where the glitter is going, and you can pour the extra glitter back into the container because that pour top come off!! Fun!

After everything is dry, you can use a clean dry brush to get any loose glitter off the tin. You can leave it as is, but since my kids are going to be handling this tin, I put a coat of mod podge on top of the glitter, to keep the glitter sealed in. Not that my girls protest being covered in purple glitter....
And that's it! A fun, durable (and inexpensive!) storage container!

Now, who wants one of these stencils of their very own? Amy has been sweet enough to give one away!!

Disclosure: I received stencils, glitter, and spouncers for free. However, all projects and opinions of the products on this post are my own.
I love to party! Sometimes I link up my posts to Organizing Junkie, Tidy Mom and these link parties! You should come party with me and check out some awesome new bloggers!


0 comments