It's menu planning time again!

What are you having to eat this week? Here's our plan:
Monday: Fish Sticks, Fruit, and Carrots
Tuesday: Pizza Rolls, Salad

Wednesday: Black Bean Quesadillas, Fruit
.JPG)
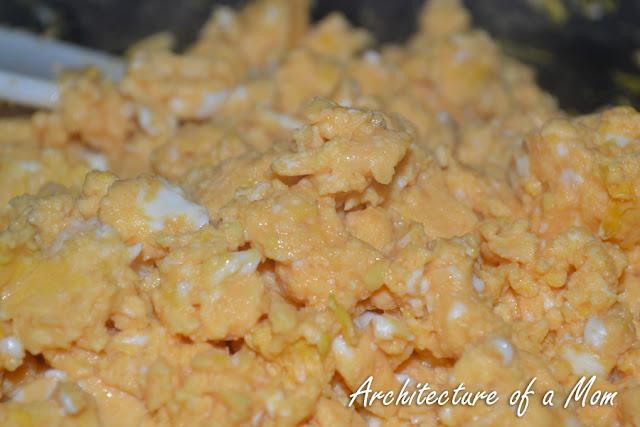
Thursday: Breakfast for Dinner
Friday: Beef Roast in the Crockpot
Saturday: Leftovers
Sunday: Baked Chicken, Roasted Potatoes, Salad, Bread

What are you having to eat this week? Here's our plan:
Monday: Fish Sticks, Fruit, and Carrots
Tuesday: Pizza Rolls, Salad
Wednesday: Black Bean Quesadillas, Fruit
Thursday: Breakfast for Dinner
Friday: Beef Roast in the Crockpot
Saturday: Leftovers
Sunday: Baked Chicken, Roasted Potatoes, Salad, Bread
I love to party! Sometimes I link up my posts to Organizing Junkie, Tidy Mom and these link parties! You should come party with me and check out some awesome new bloggers!


.JPG)


.JPG)


.JPG)